Kids Artwork Organization - Keepsake Box DIY
Preserve and Organize Precious Memories throughout the years with a personalized Keepsake Box.
From school projects, achievements, sports awards, and more this memory box will declutter, and create a lasting collective space for all of lifes special little moments. This step by step guide will teach you how to cost effectively create a personalized keepsake box of your very own!
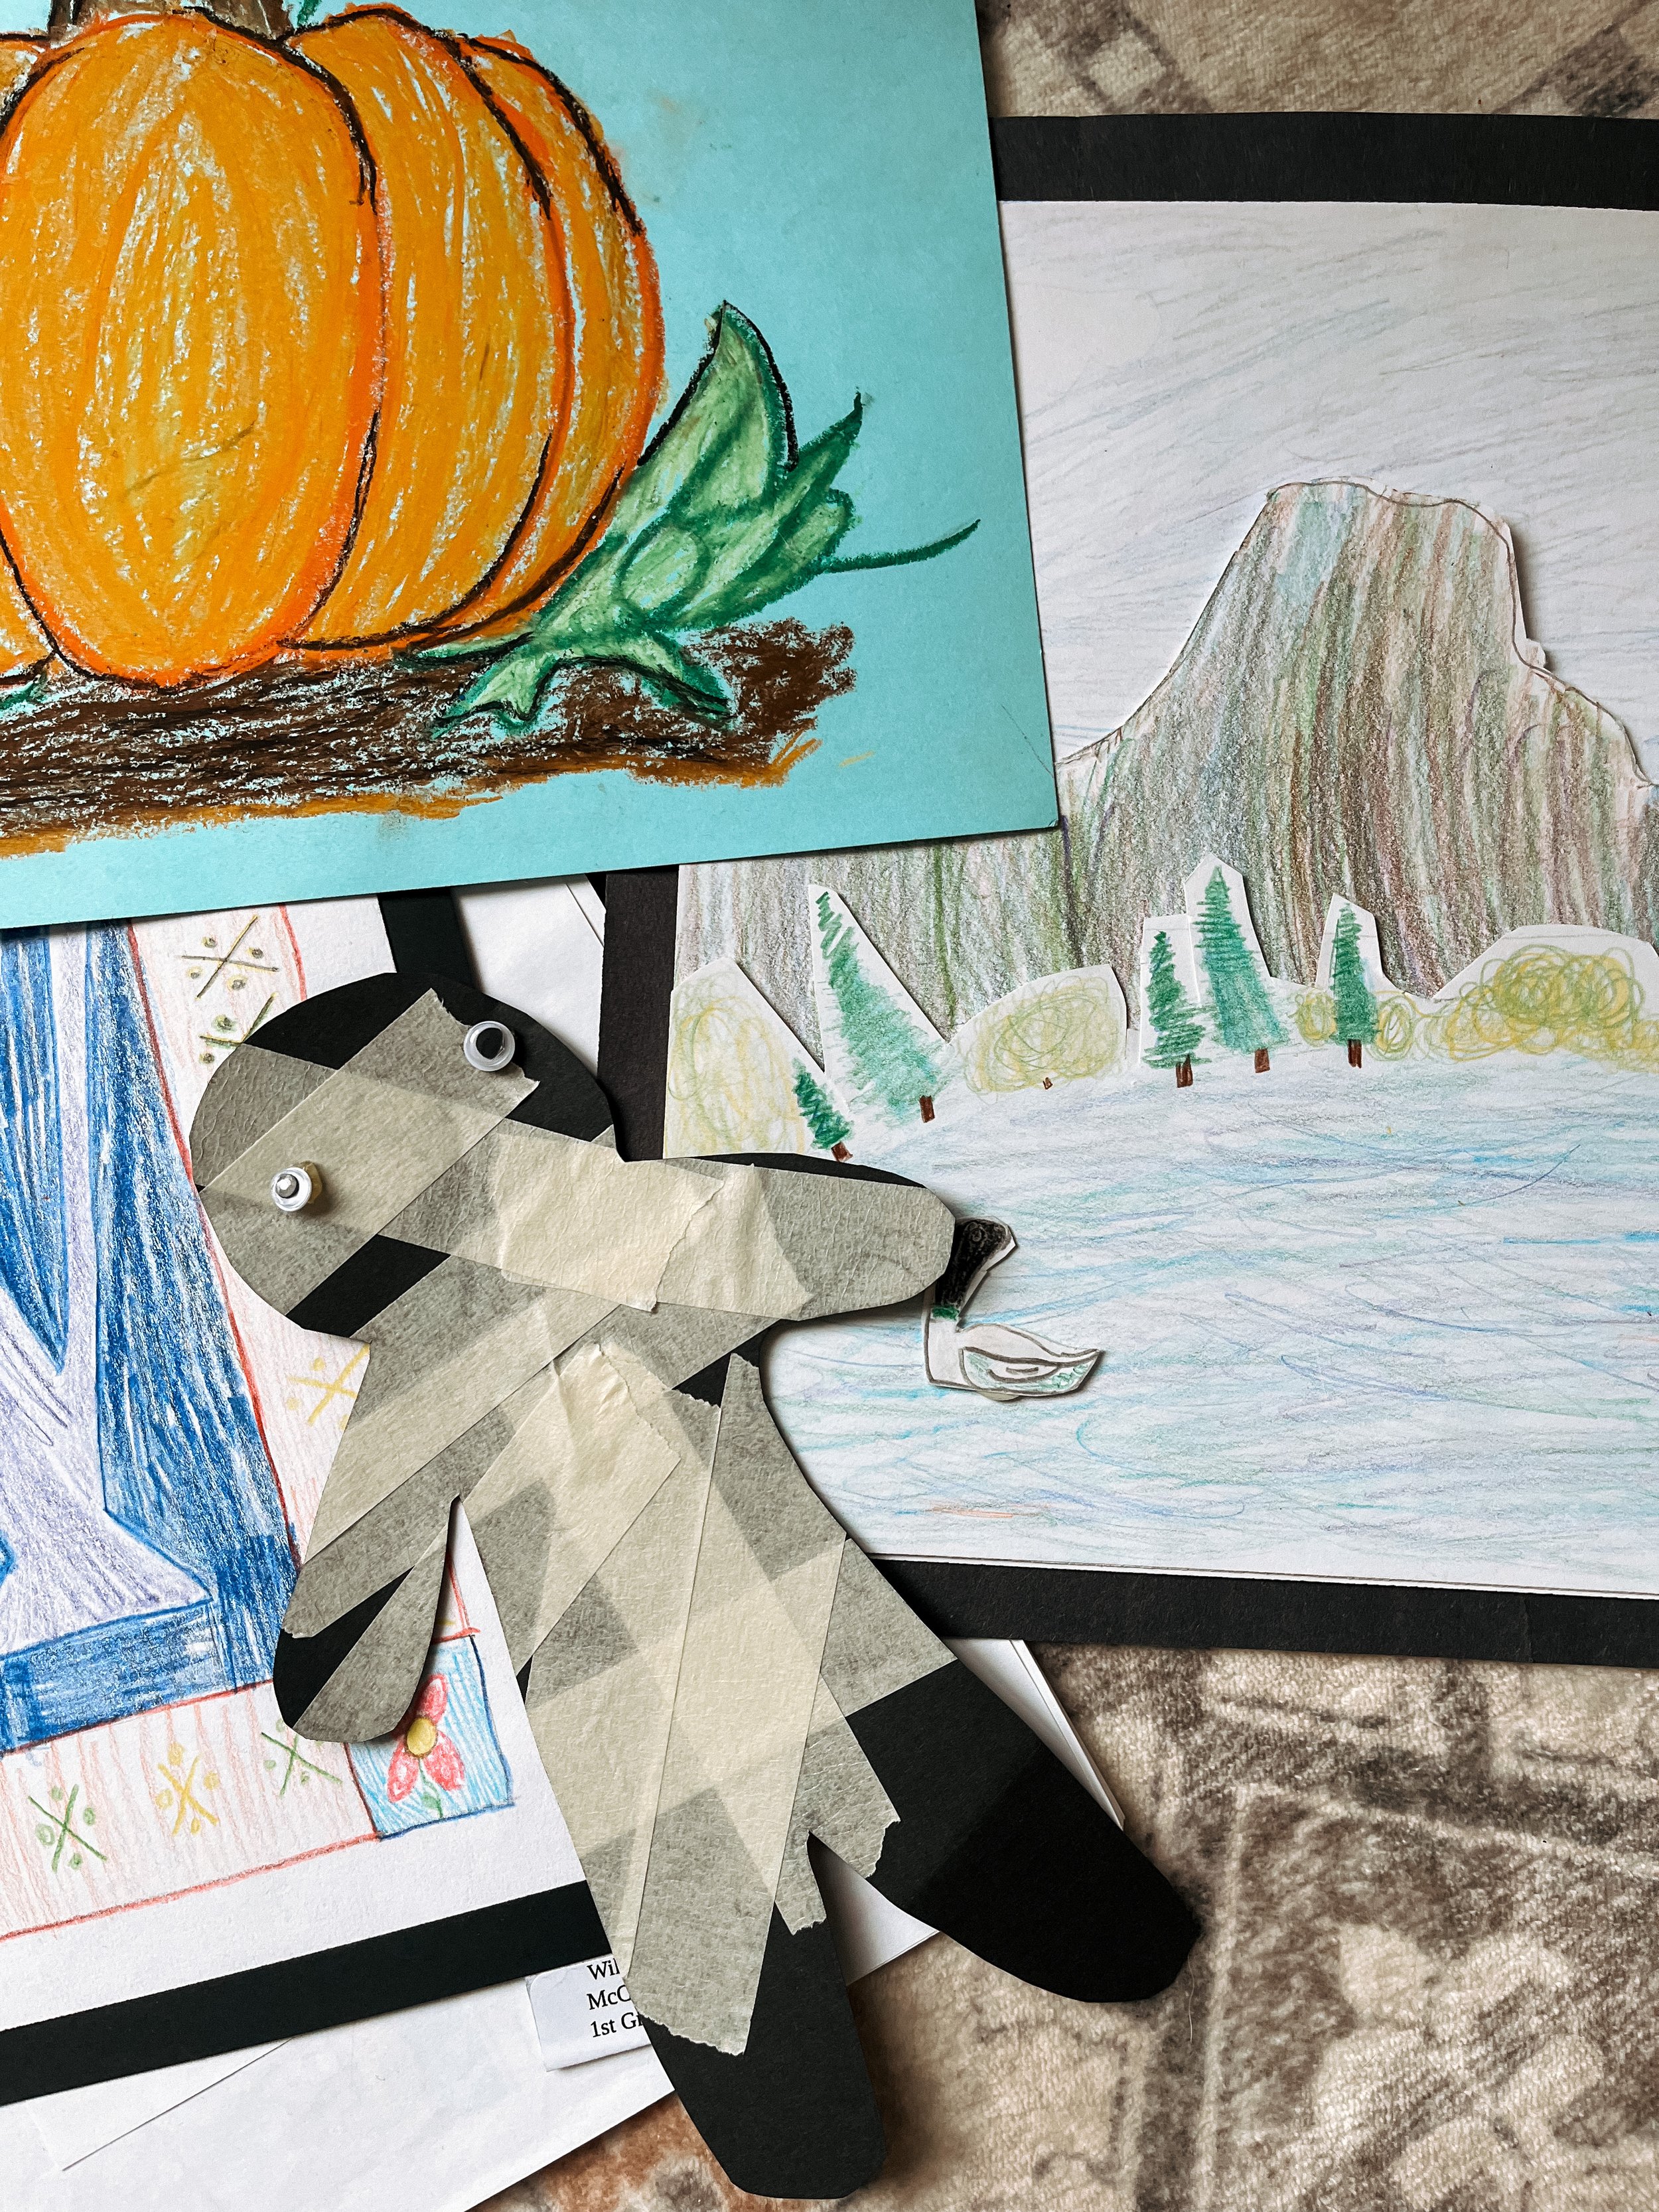
Okay, heres the thing.. I ADORE the cute seasonal school projects, holiday crafts, and more. I cant get myself to part with them. I still have my own boxes of projects hanging out up in the attic. (thanks mom) But once the season or school year is over, Id find myself taking down these prized precious pieces, and then moving them into a bottomless pit of a tote in the attic. Sure it was organized - one big ole box for each child - organized. I needed something different. Something that would help not only give each art piece or award a ‘Home’ but would keep it protected AND in order of when they were created or received. If youre running across this post, you must be having the same thought! So lets jump into this.
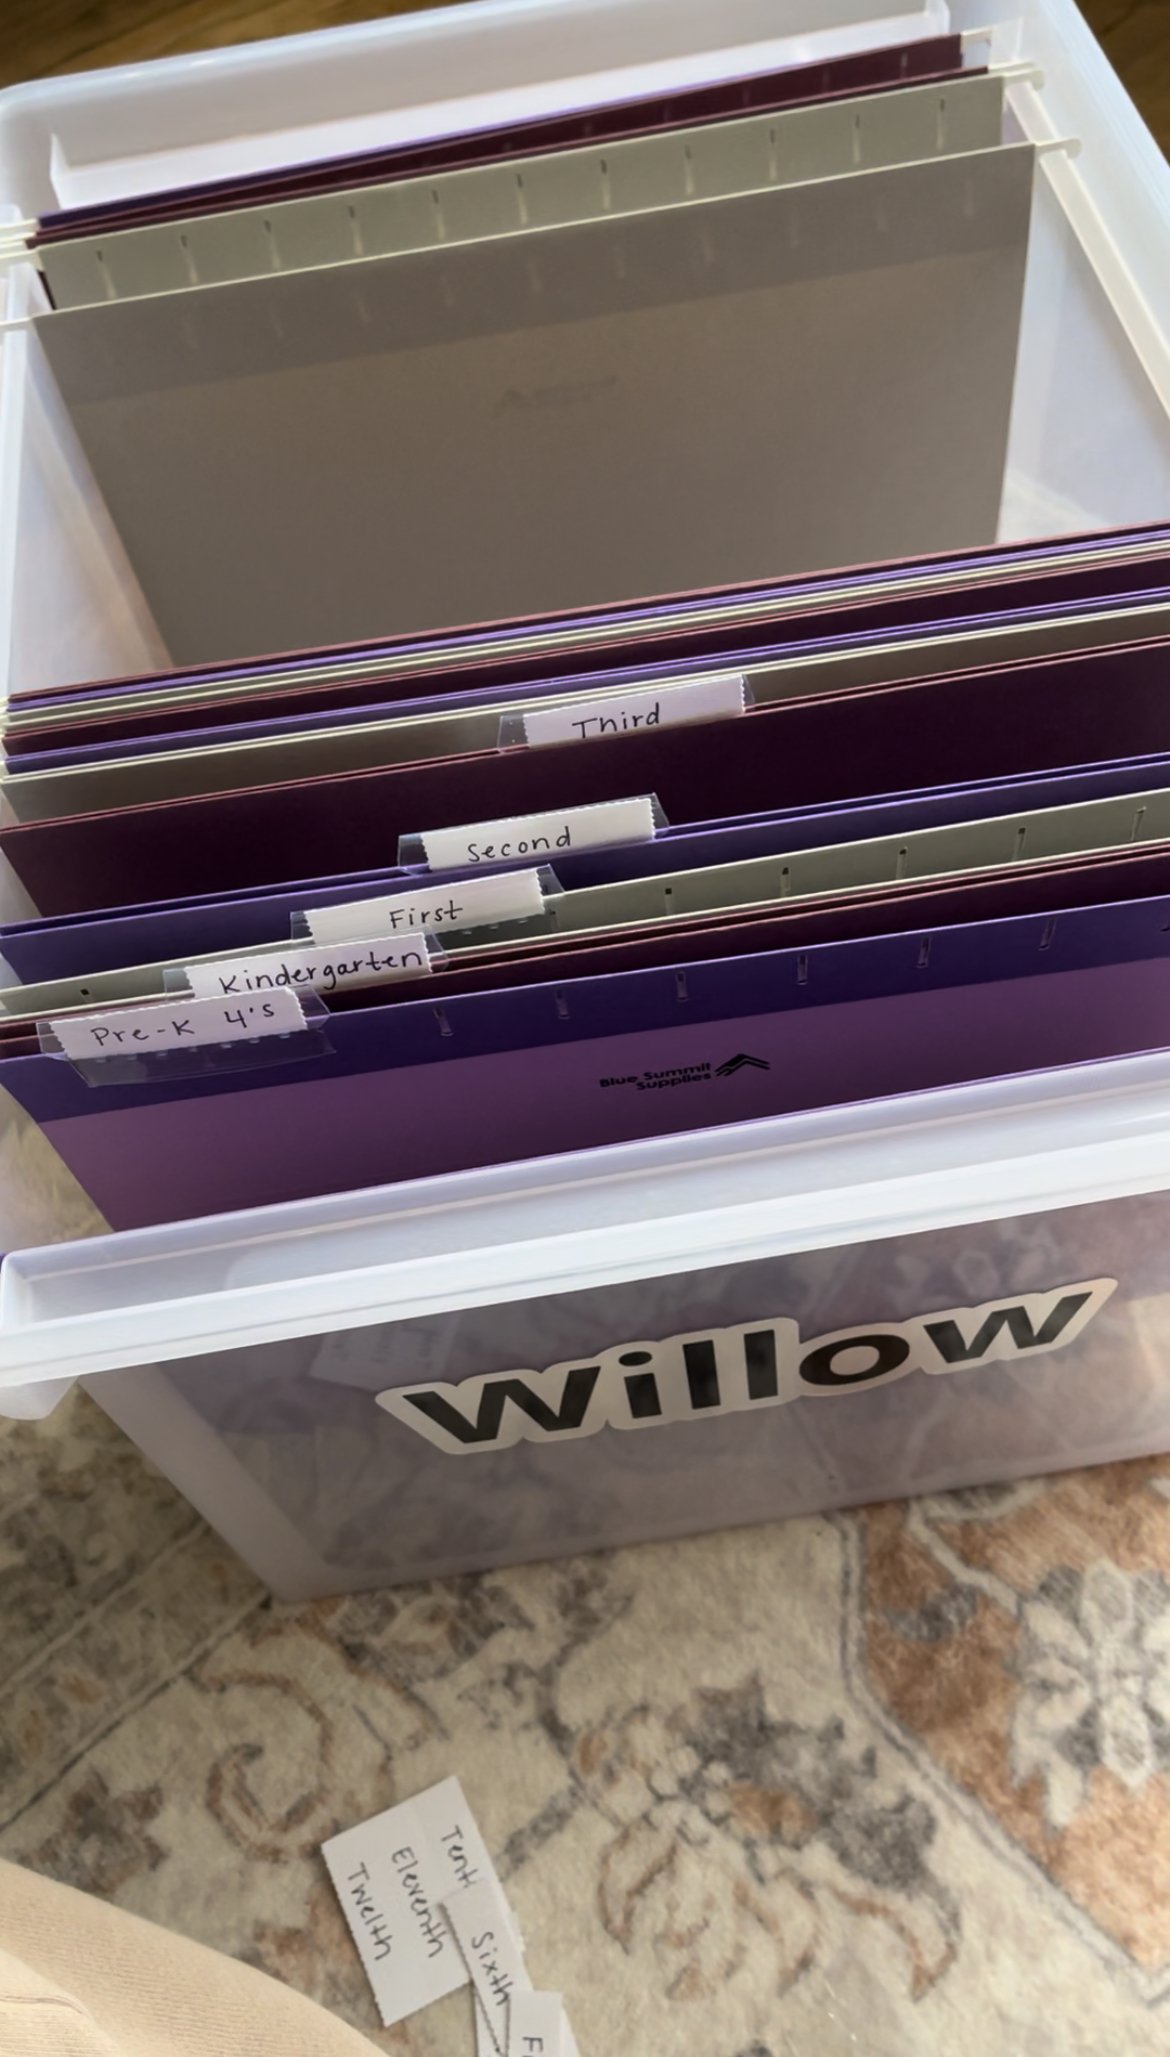
I started by doing some research on boxes and containers themselves - I knew i wanted it to be decent size so I wouldnt be doing this project again if I ran out of space. After all I want this box to last from birth-12th grade, and I have a feeling there will be a whole lot to go inside! I also wanted it to be stackable, as i have multiple child. Im jazzed at the storage box I found, and even more jazzed at the price point! The low cost of the box allowed me to create one entire box for under $13! WOOHOO!
Next piece to the puzzle - file folders. Hanging file folders do need to be purchased separately for this box. But this allows you to customize color and style for your box! If you’re trying to stay cost effective, try these green hanging file folders. They come in a pack of 25, and if split between two boxes (like i did) theyre under $3! You really can get creative with colors and patterns though. My daughter requested “pink or purple” and I really liked these jewel toned file folders from Amazon!
Okay, onto customization! I wanted to cut each childs name to put on the front of the boxes. Not only does this save you from opening each box to discover which belongs to what kid - but offers a fun customization that really embodies that these boxes are truly THEM.
To customize each box I turned to my trusty Silhouette Cameo. Ive had my Cameo since 2015, and its been a WORKHORSE for every Birthday, Holiday, and creative project this head has dreampt up! You can checkout other blog posts for birthday inspo, customized clothing and more. But if you’re in the market for a machine to aid in your projects, I highly recommend! If you dont have a machine to cut your names out, you could also use letter stickers from a craft store such as michaels, joanns, etc.
With the boxes being clear, I knew I wanted to have a halo or outline around their names to help them pop. I used Oracal permanant vinyl in Silver as the base. I used Oracal permanent vinyl in black for the letters of their names. If youre using a machine to cut your personalized names, I used font “MuktaMahee Bold”.
Once your names are cut on your machine, “weed’ or remove the pieces that you will not be using - typically this would include the large background piece and then the small pieces within your letters. Think the circles inside of letter B or the letter P. Next you’ll take a piece of transfer paper, or tape to lift the name (in my case in black), and lay it over the top of your outline. This will allow you to layer the pieces together, and also pickup the background.
Place the two pieces onto your box. after smoothing them on - pressing down to ensure they stick will - youll be able to lift the transfer tape away an reveal your stuck name sticker!
You could really get fun and creative with these, cutting out items your child enjoys - such as sporting items, animals, etc and sticking them to the front of the box. But the creative aspect is up to you! After completing the personalization all thats left is to fill the boxes with all the exciting, fun, and cute things to come!


